ThaiRiches Predictor [AI Premium]ThaiRiches Predictor is a comprehensive trend-following system designed to help traders identify high-probability entries while managing risk effectively. This script combines Zero-Lag technology (ZLEMA) with volatility filters and an intelligent AI Dashboard to analyze market conditions in real-time.
Key Features:
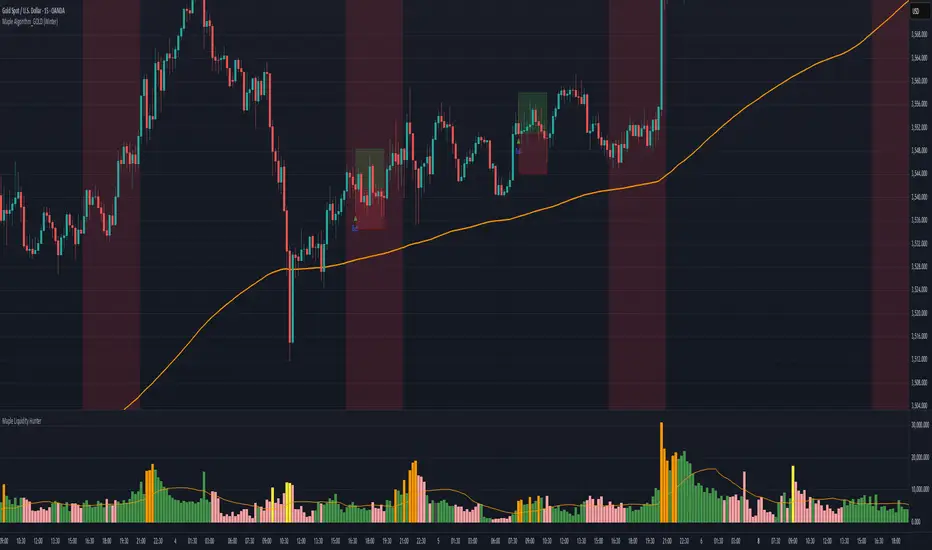
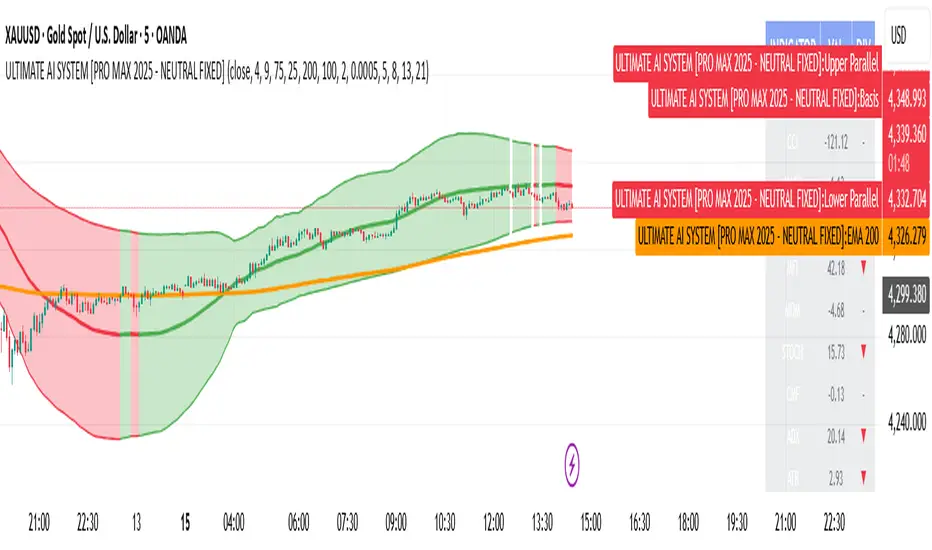
Zero-Lag Trend Engine: Uses a custom Zero-Lag EMA (ZLEMA) logic combined with volatility bands to detect trend changes earlier than traditional Moving Averages.
AI Analysis Dashboard: A real-time monitor panel that evaluates Trend, Momentum (RSI), and Volatility to provide actionable advice (e.g., "Strong Uptrend", "Overbought - Wait for Pullback", or "Low Volatility - Caution").
Auto TP & SL System: Automatically calculates and displays Stop Loss (SL), Take Profit 1 (TP1), and Take Profit 2 (TP2) based on ATR, adapting to the current market volatility.
Improved Safety: SL is calculated from the High/Low of the signal candle to prevent premature stop-outs.
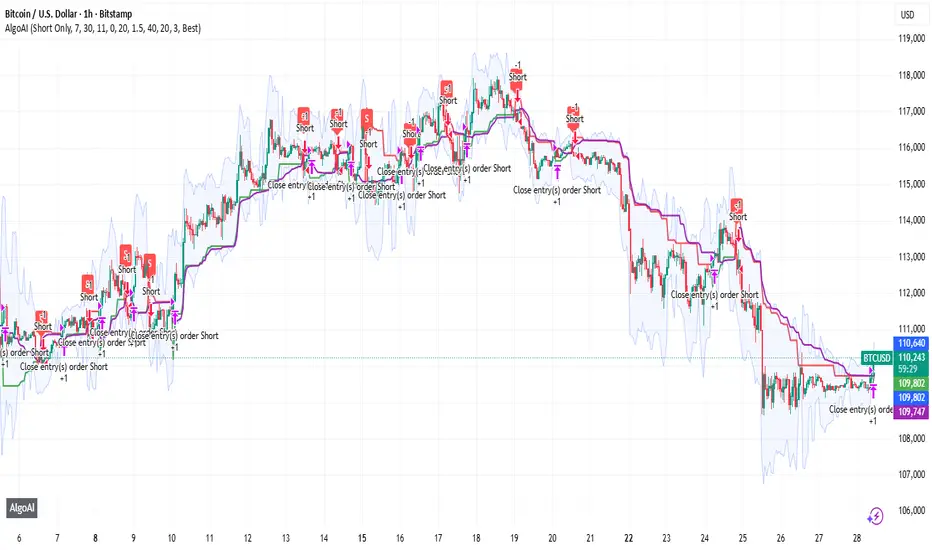
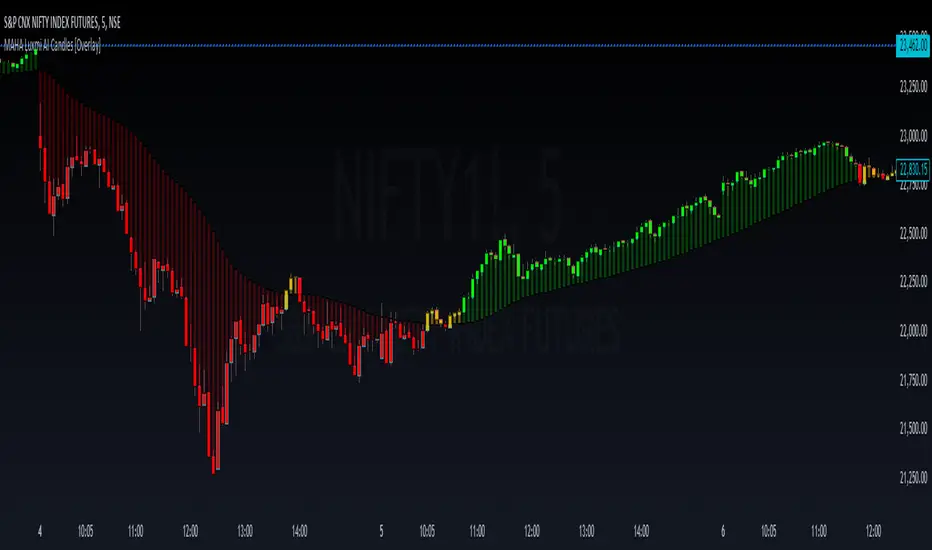
Visual Alerts: Clear BUY/SELL labels with price targets and color-coded candlesticks for easy visual confirmation.
How to Use:
BUY Signal: Look for the Green Label and Green Trend Line. Confirm with the Dashboard (Status: BULLISH).
S ELL Signal: Look for the Red Label and Red Trend Line. Confirm with the Dashboard (Status: BEARISH).
Risk Management: Use the provided SL levels. It is recommended to take partial profit at TP1 and trail your stop to entry.
Caution: Avoid trading when the Dashboard shows "Low Volatility" or "Choppy" warnings.
Settings:
You can adjust the Trend Sensitivity and RSI Period.
TP/SL Multipliers are fully customizable to fit different assets (Gold, Forex, Crypto).
Pine Script®指标